Recently I came to the need for a quieter environment for audiovisual production and my Cisco 2951 router is producing noticeable background noise in my recordings, so I decided to do some surgery on it and make it quieter. This article gave me a lot of insights and I highly recommend using it as a reference, my method is slightly modified and improved to fit my needs.
Overview:
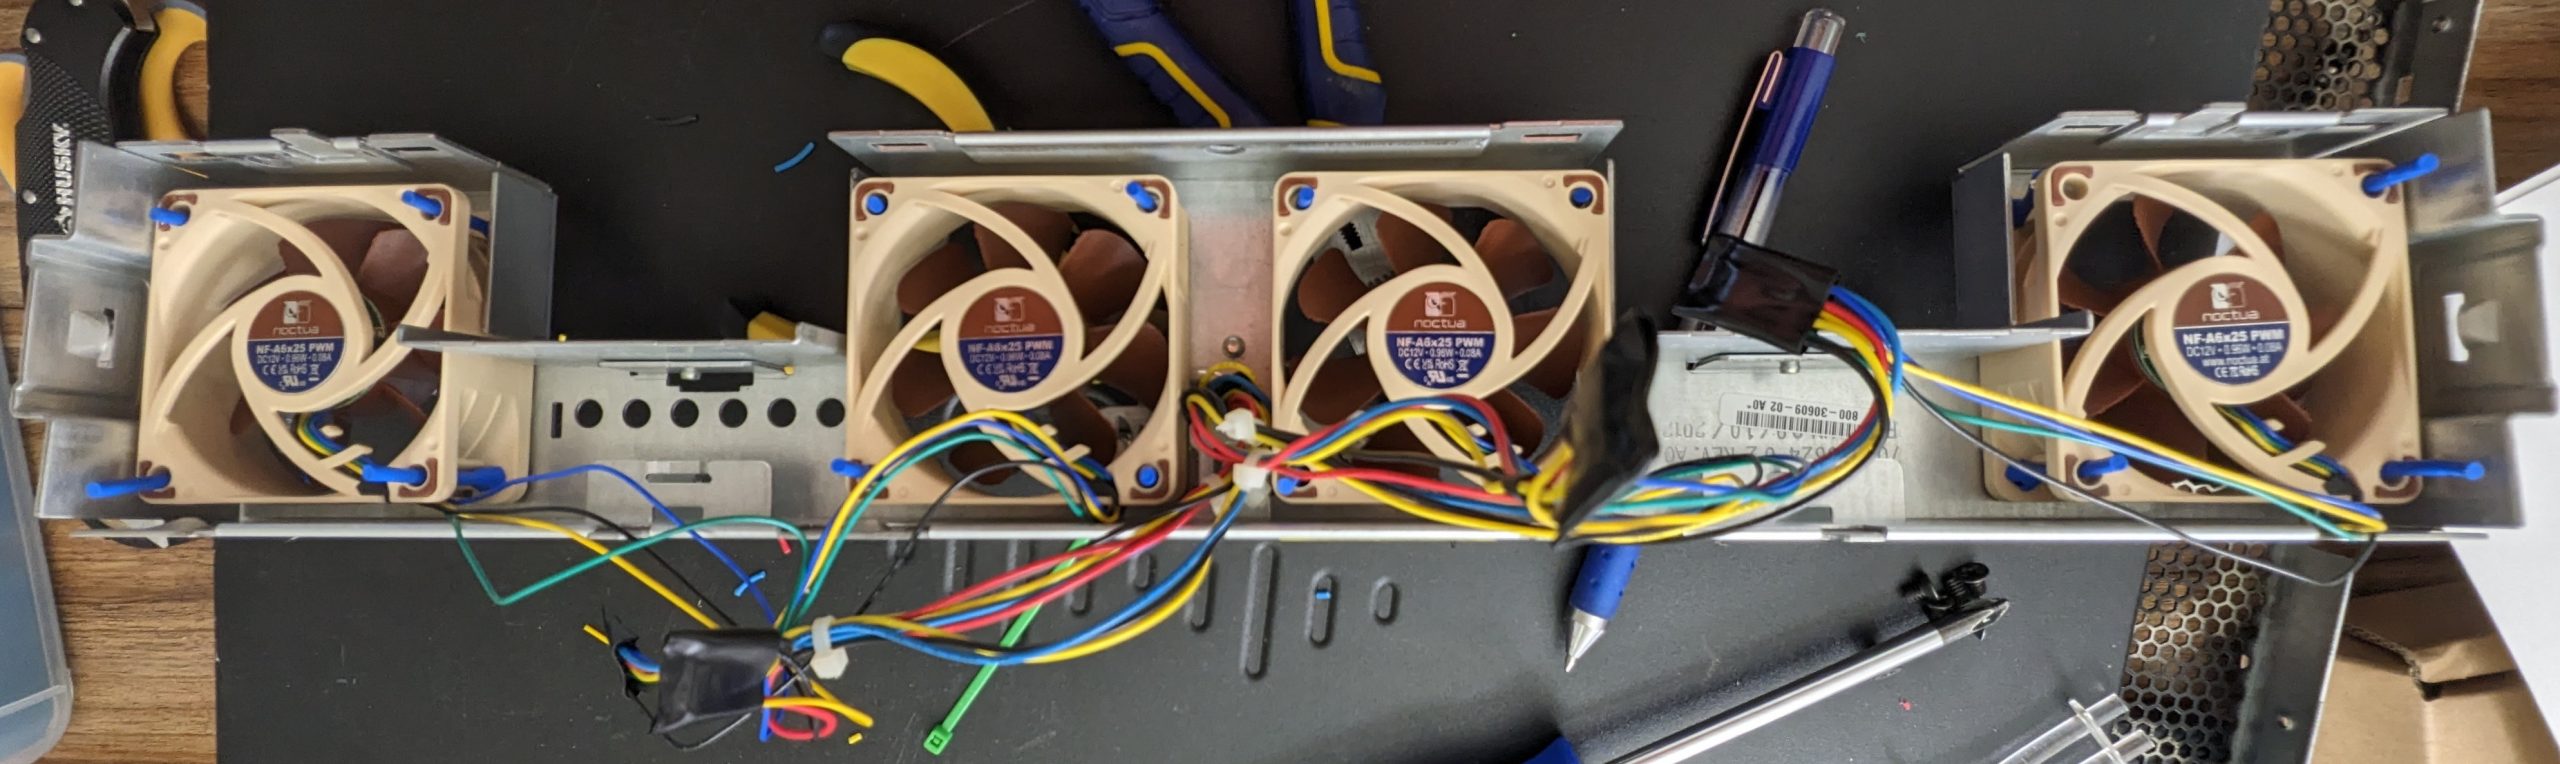
The project has two parts:
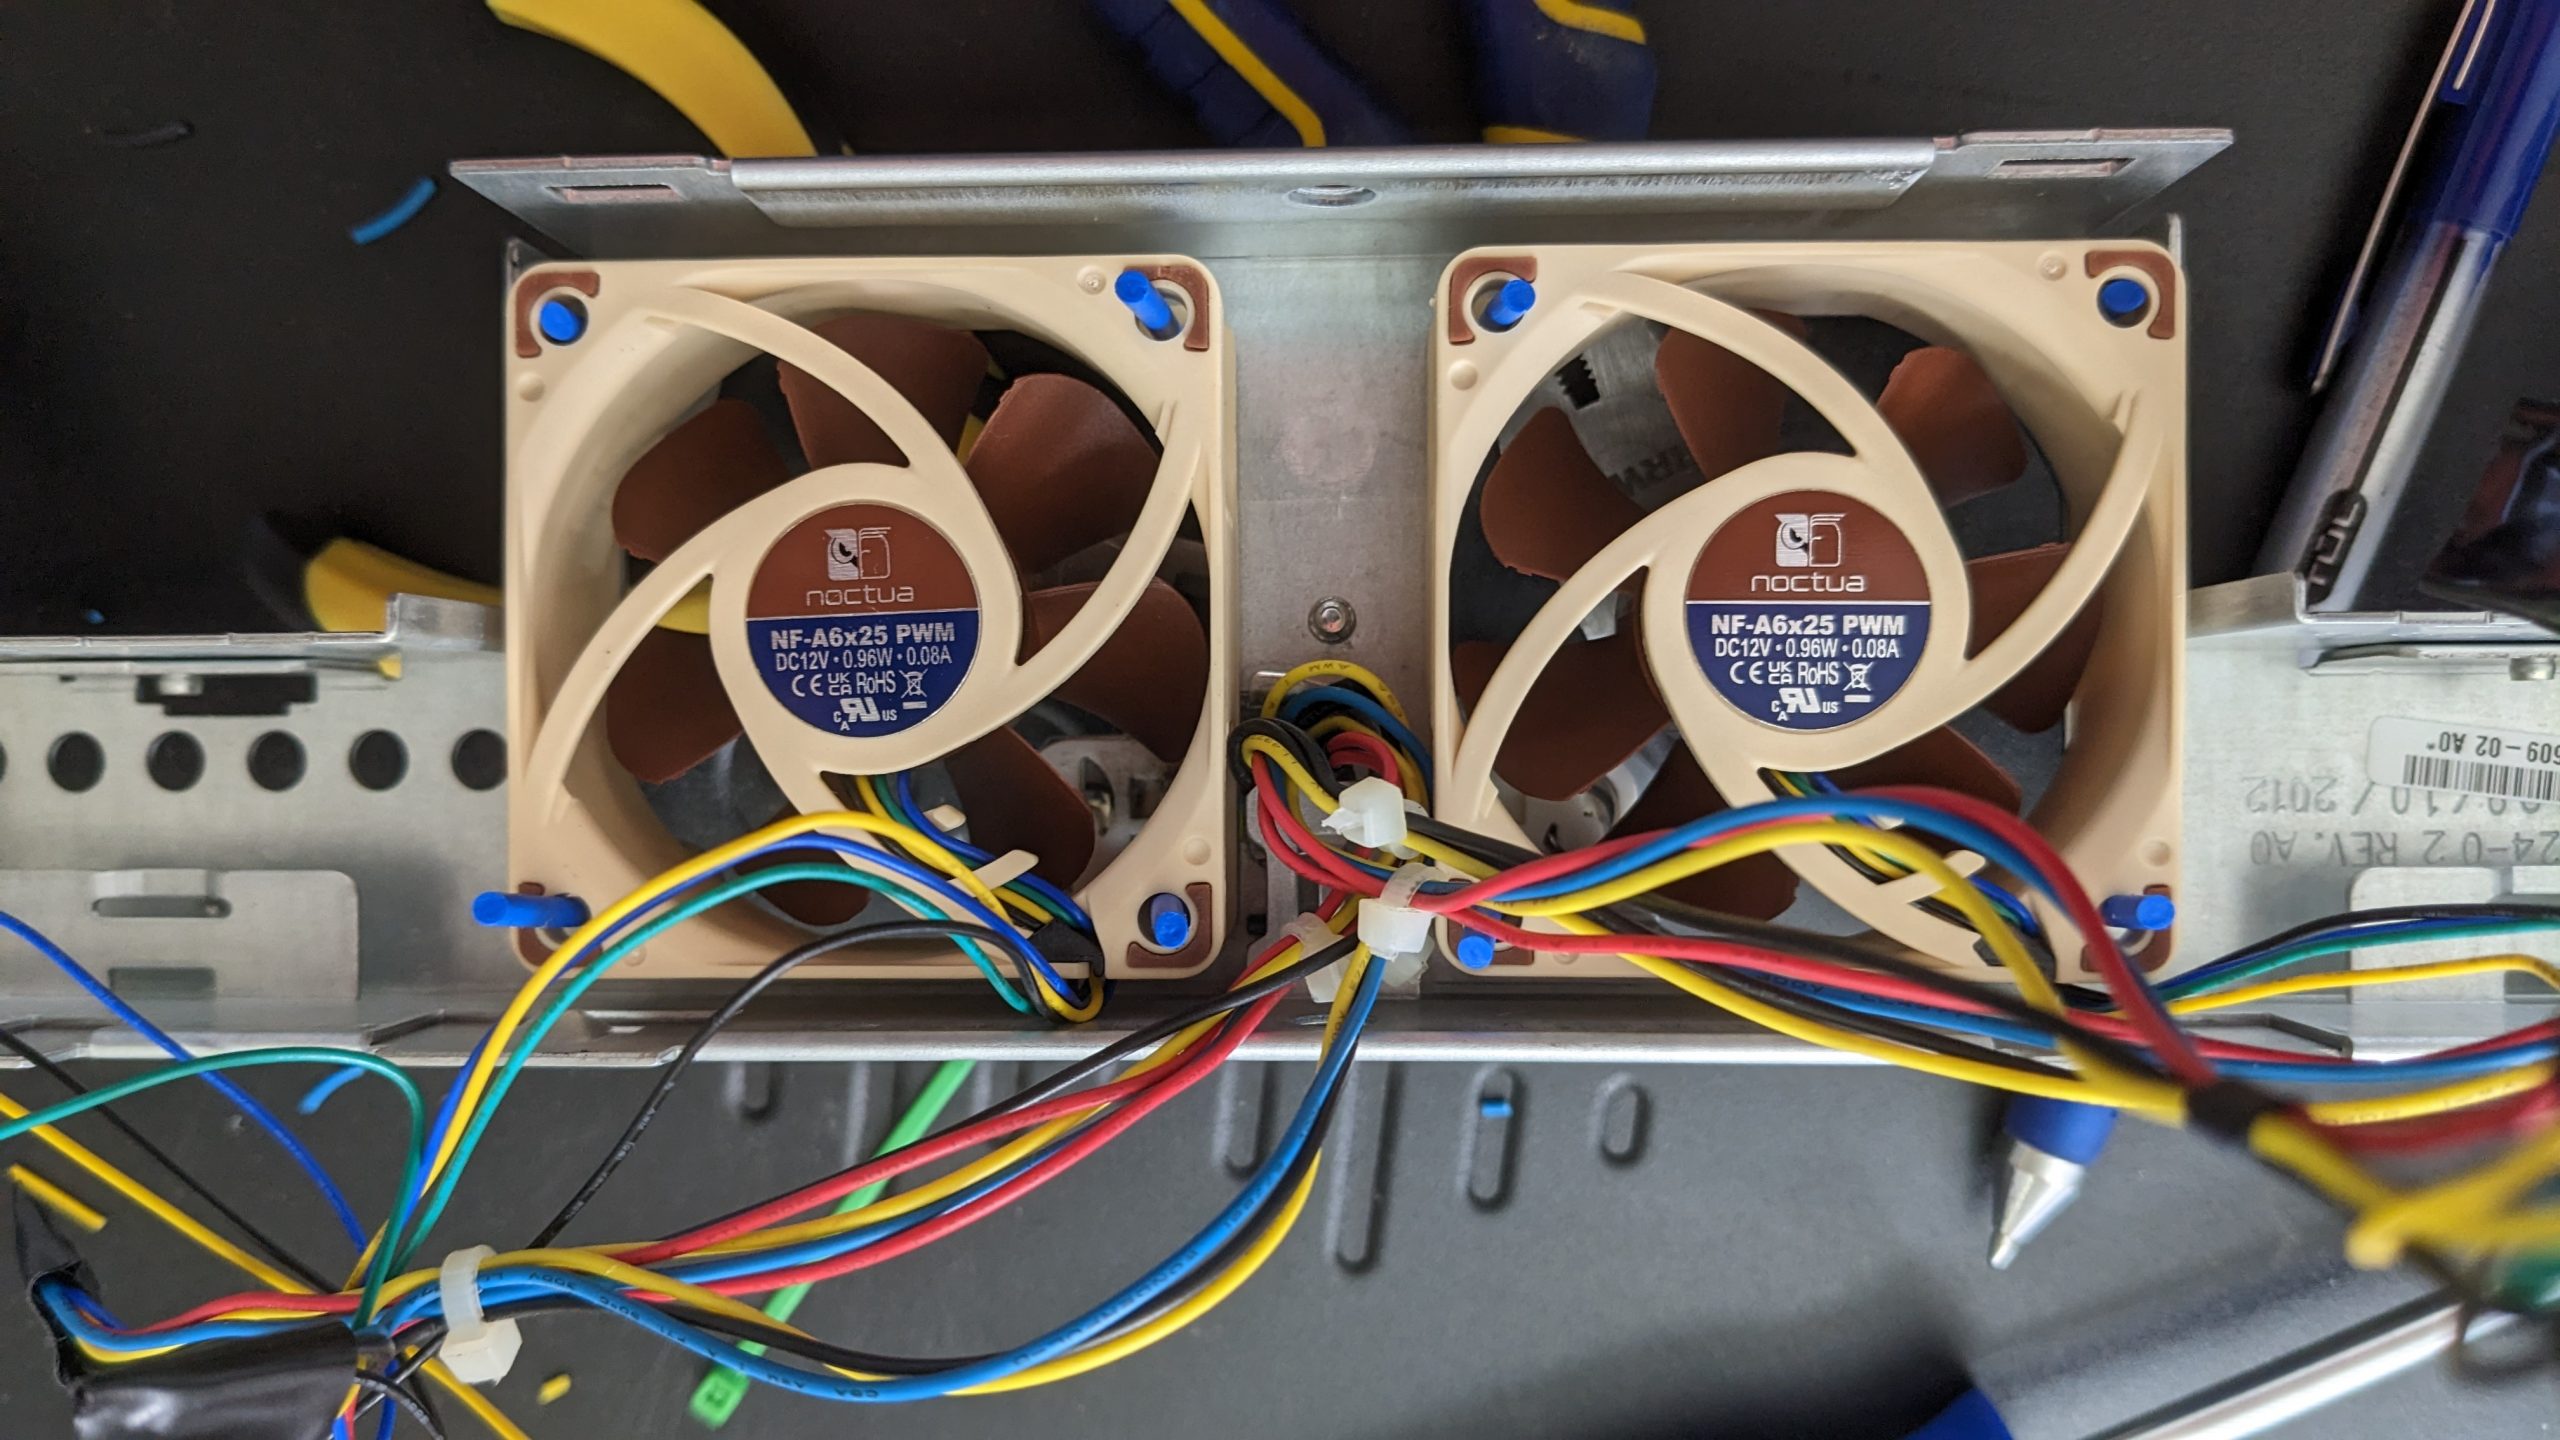
- Swapping the four stock high speed fans with quiet fans from Noctua.
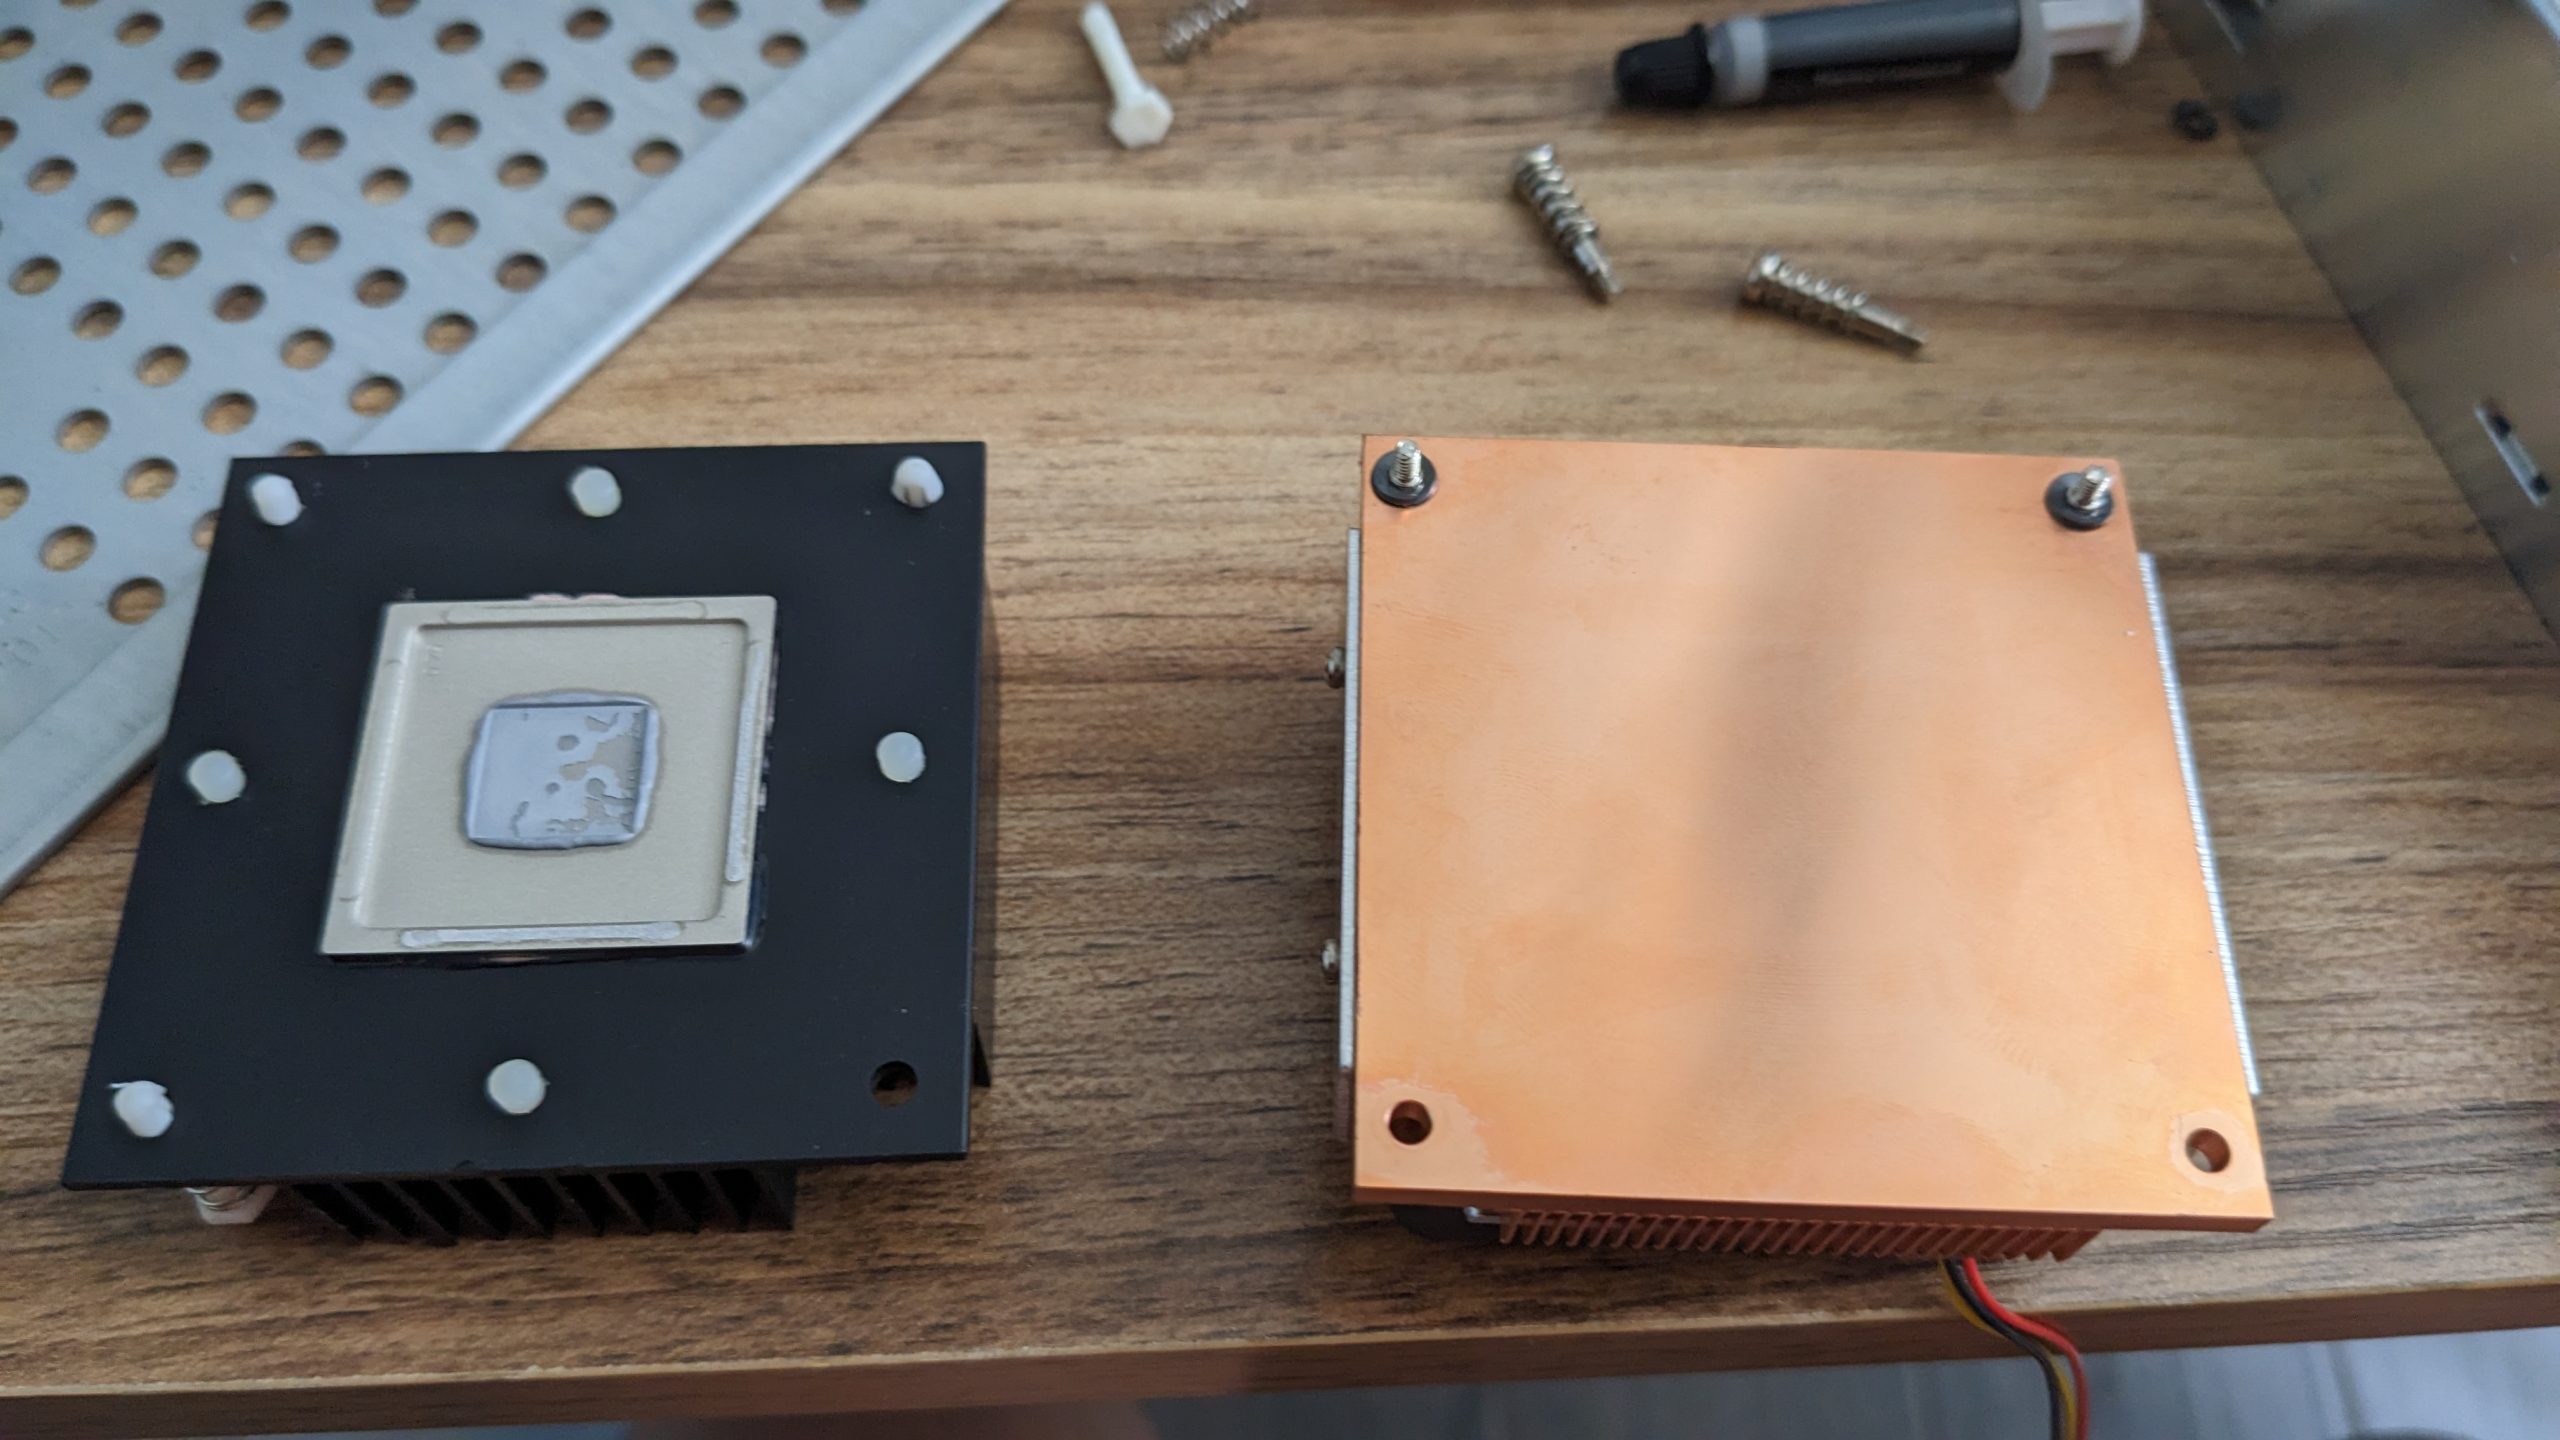
- Since the quiet fans have significantly less power, we’ll need to change the CPU’s passive cooling to active cooling.
Parts involved:
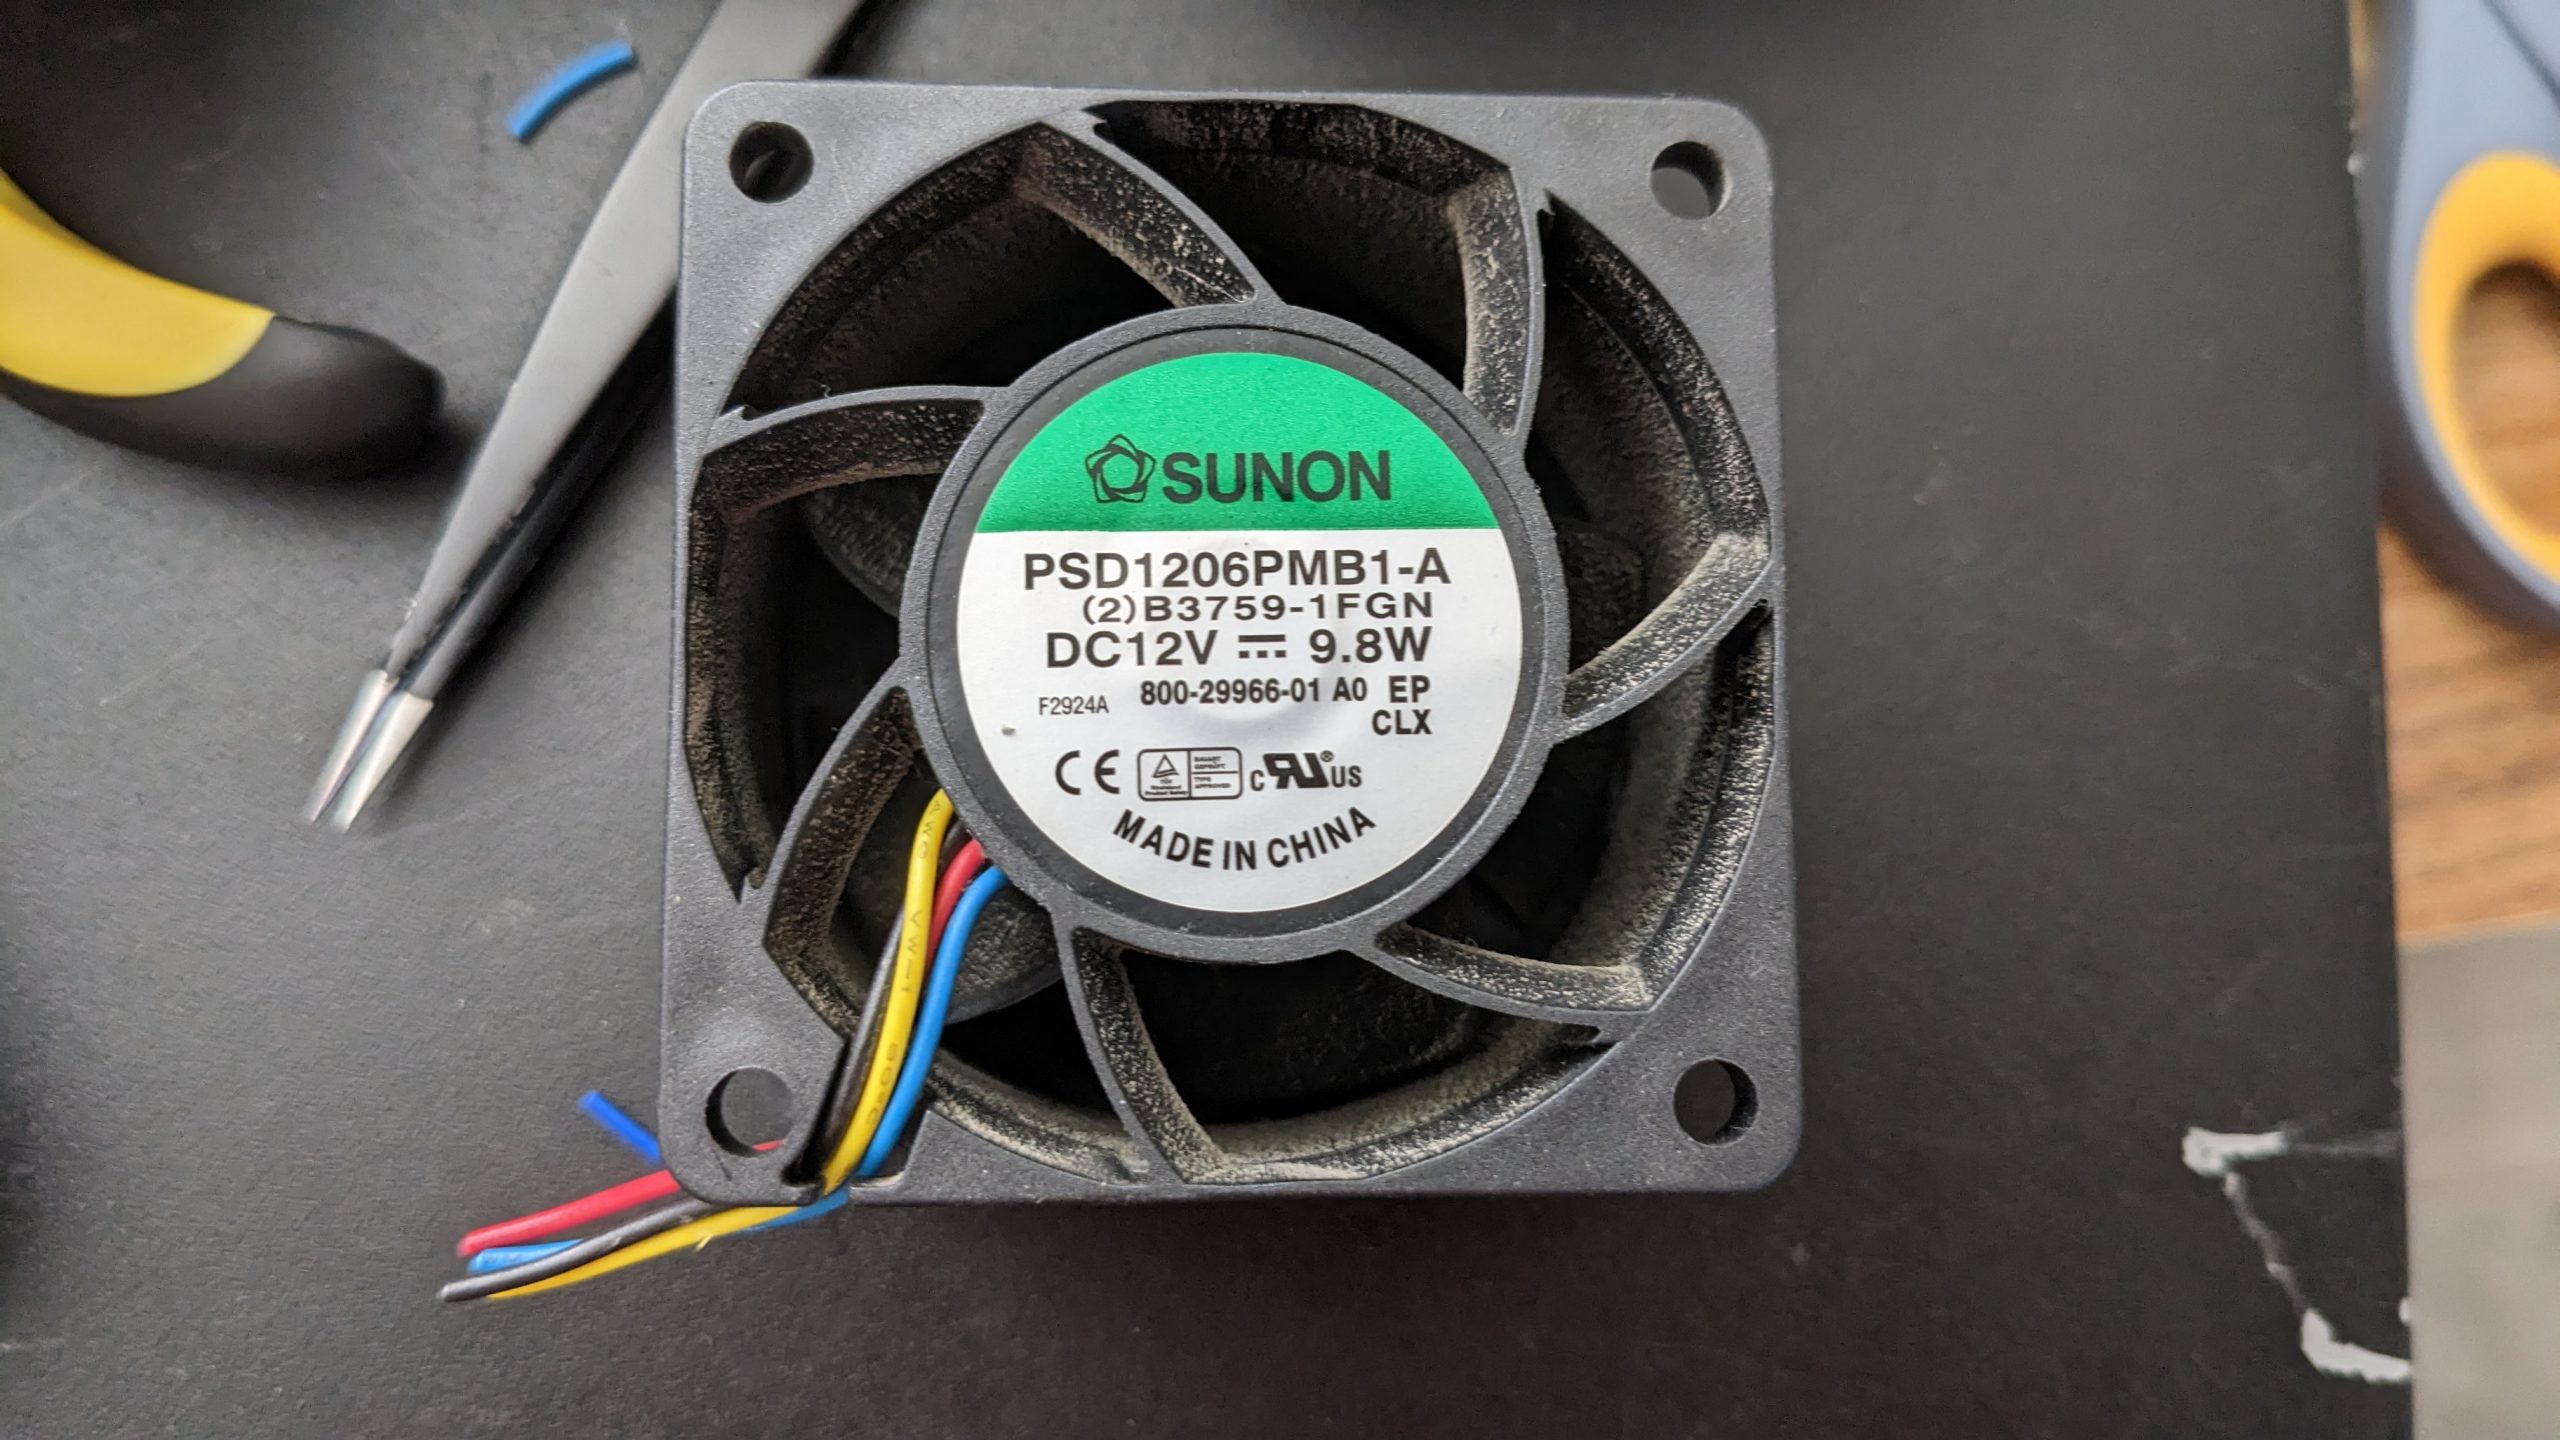
Original Parts:
- 4 x SUNON PSD1206PMB1-A, 4-pin PWM, DC12V – 9.8W. Dimension: 60mm x 60mm x 38mm. (datasheet)
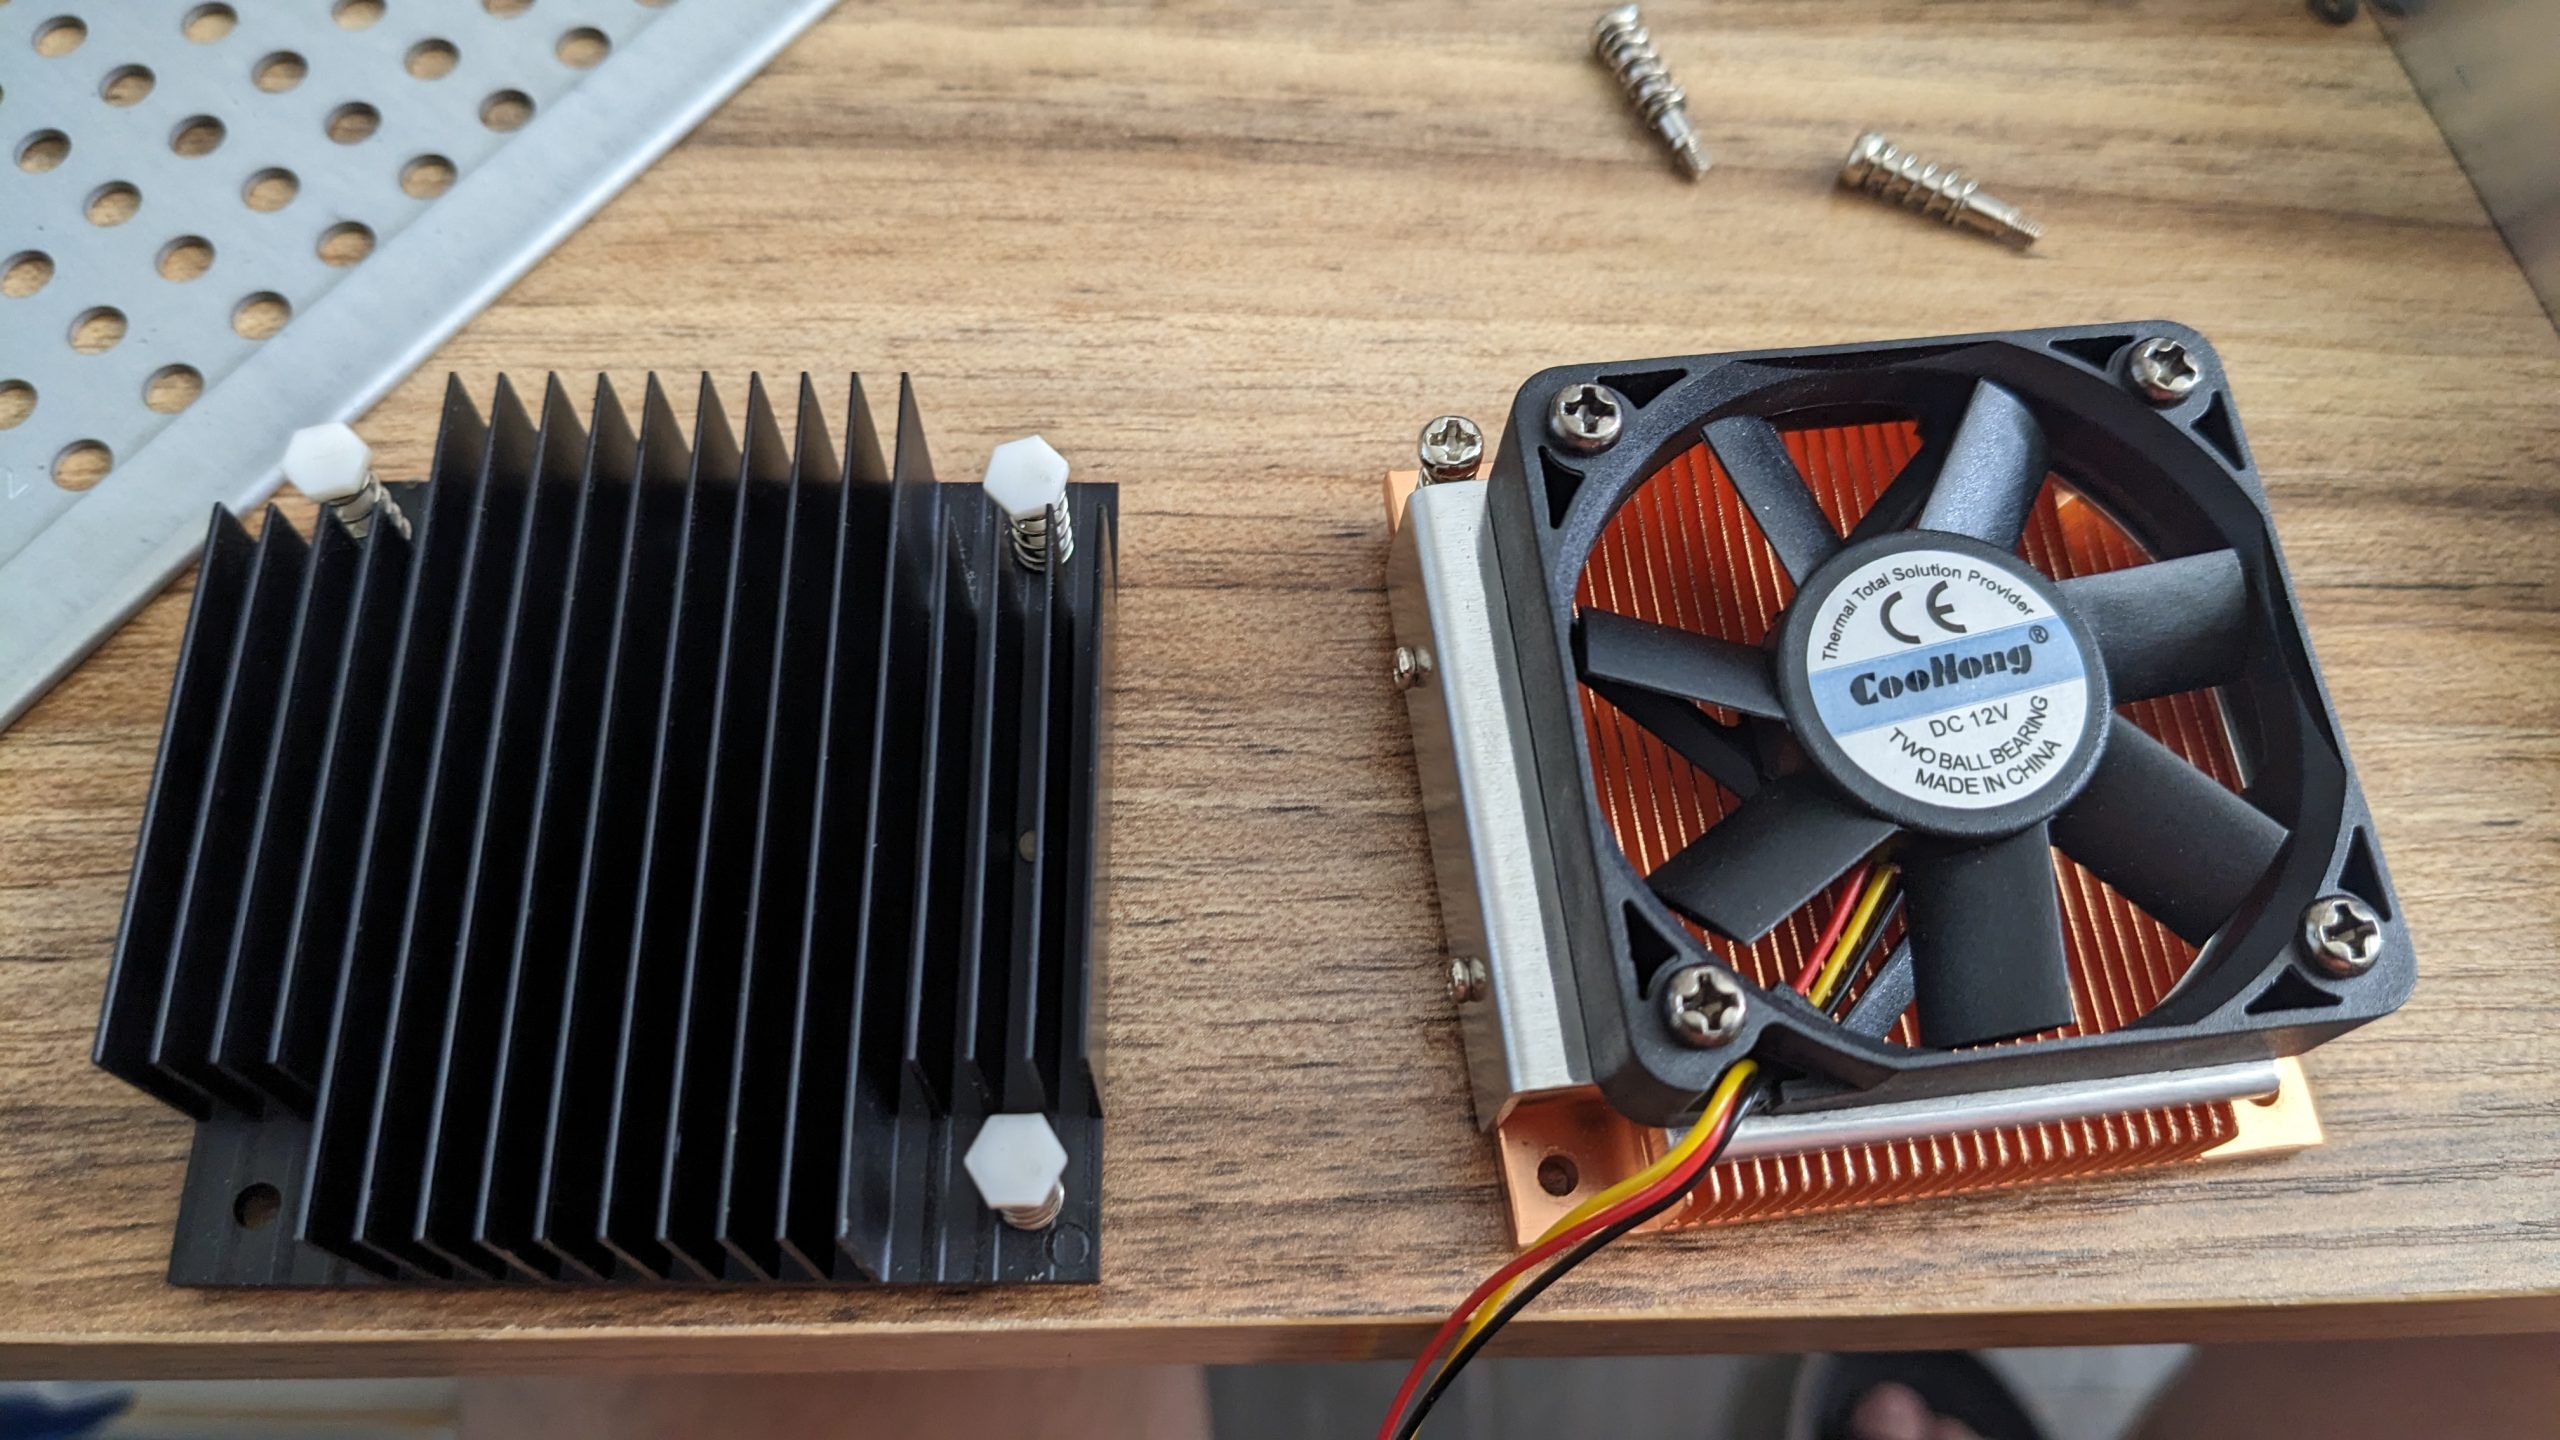
- 60mm x 60mm passive CPU heatsink.
Replacement Parts:
- 4 x Noctua NF-A6x25 PWM, 4-pin, 12V – 0.96W. Dimension: 60mm x 60mm x 25mm. (datasheet)
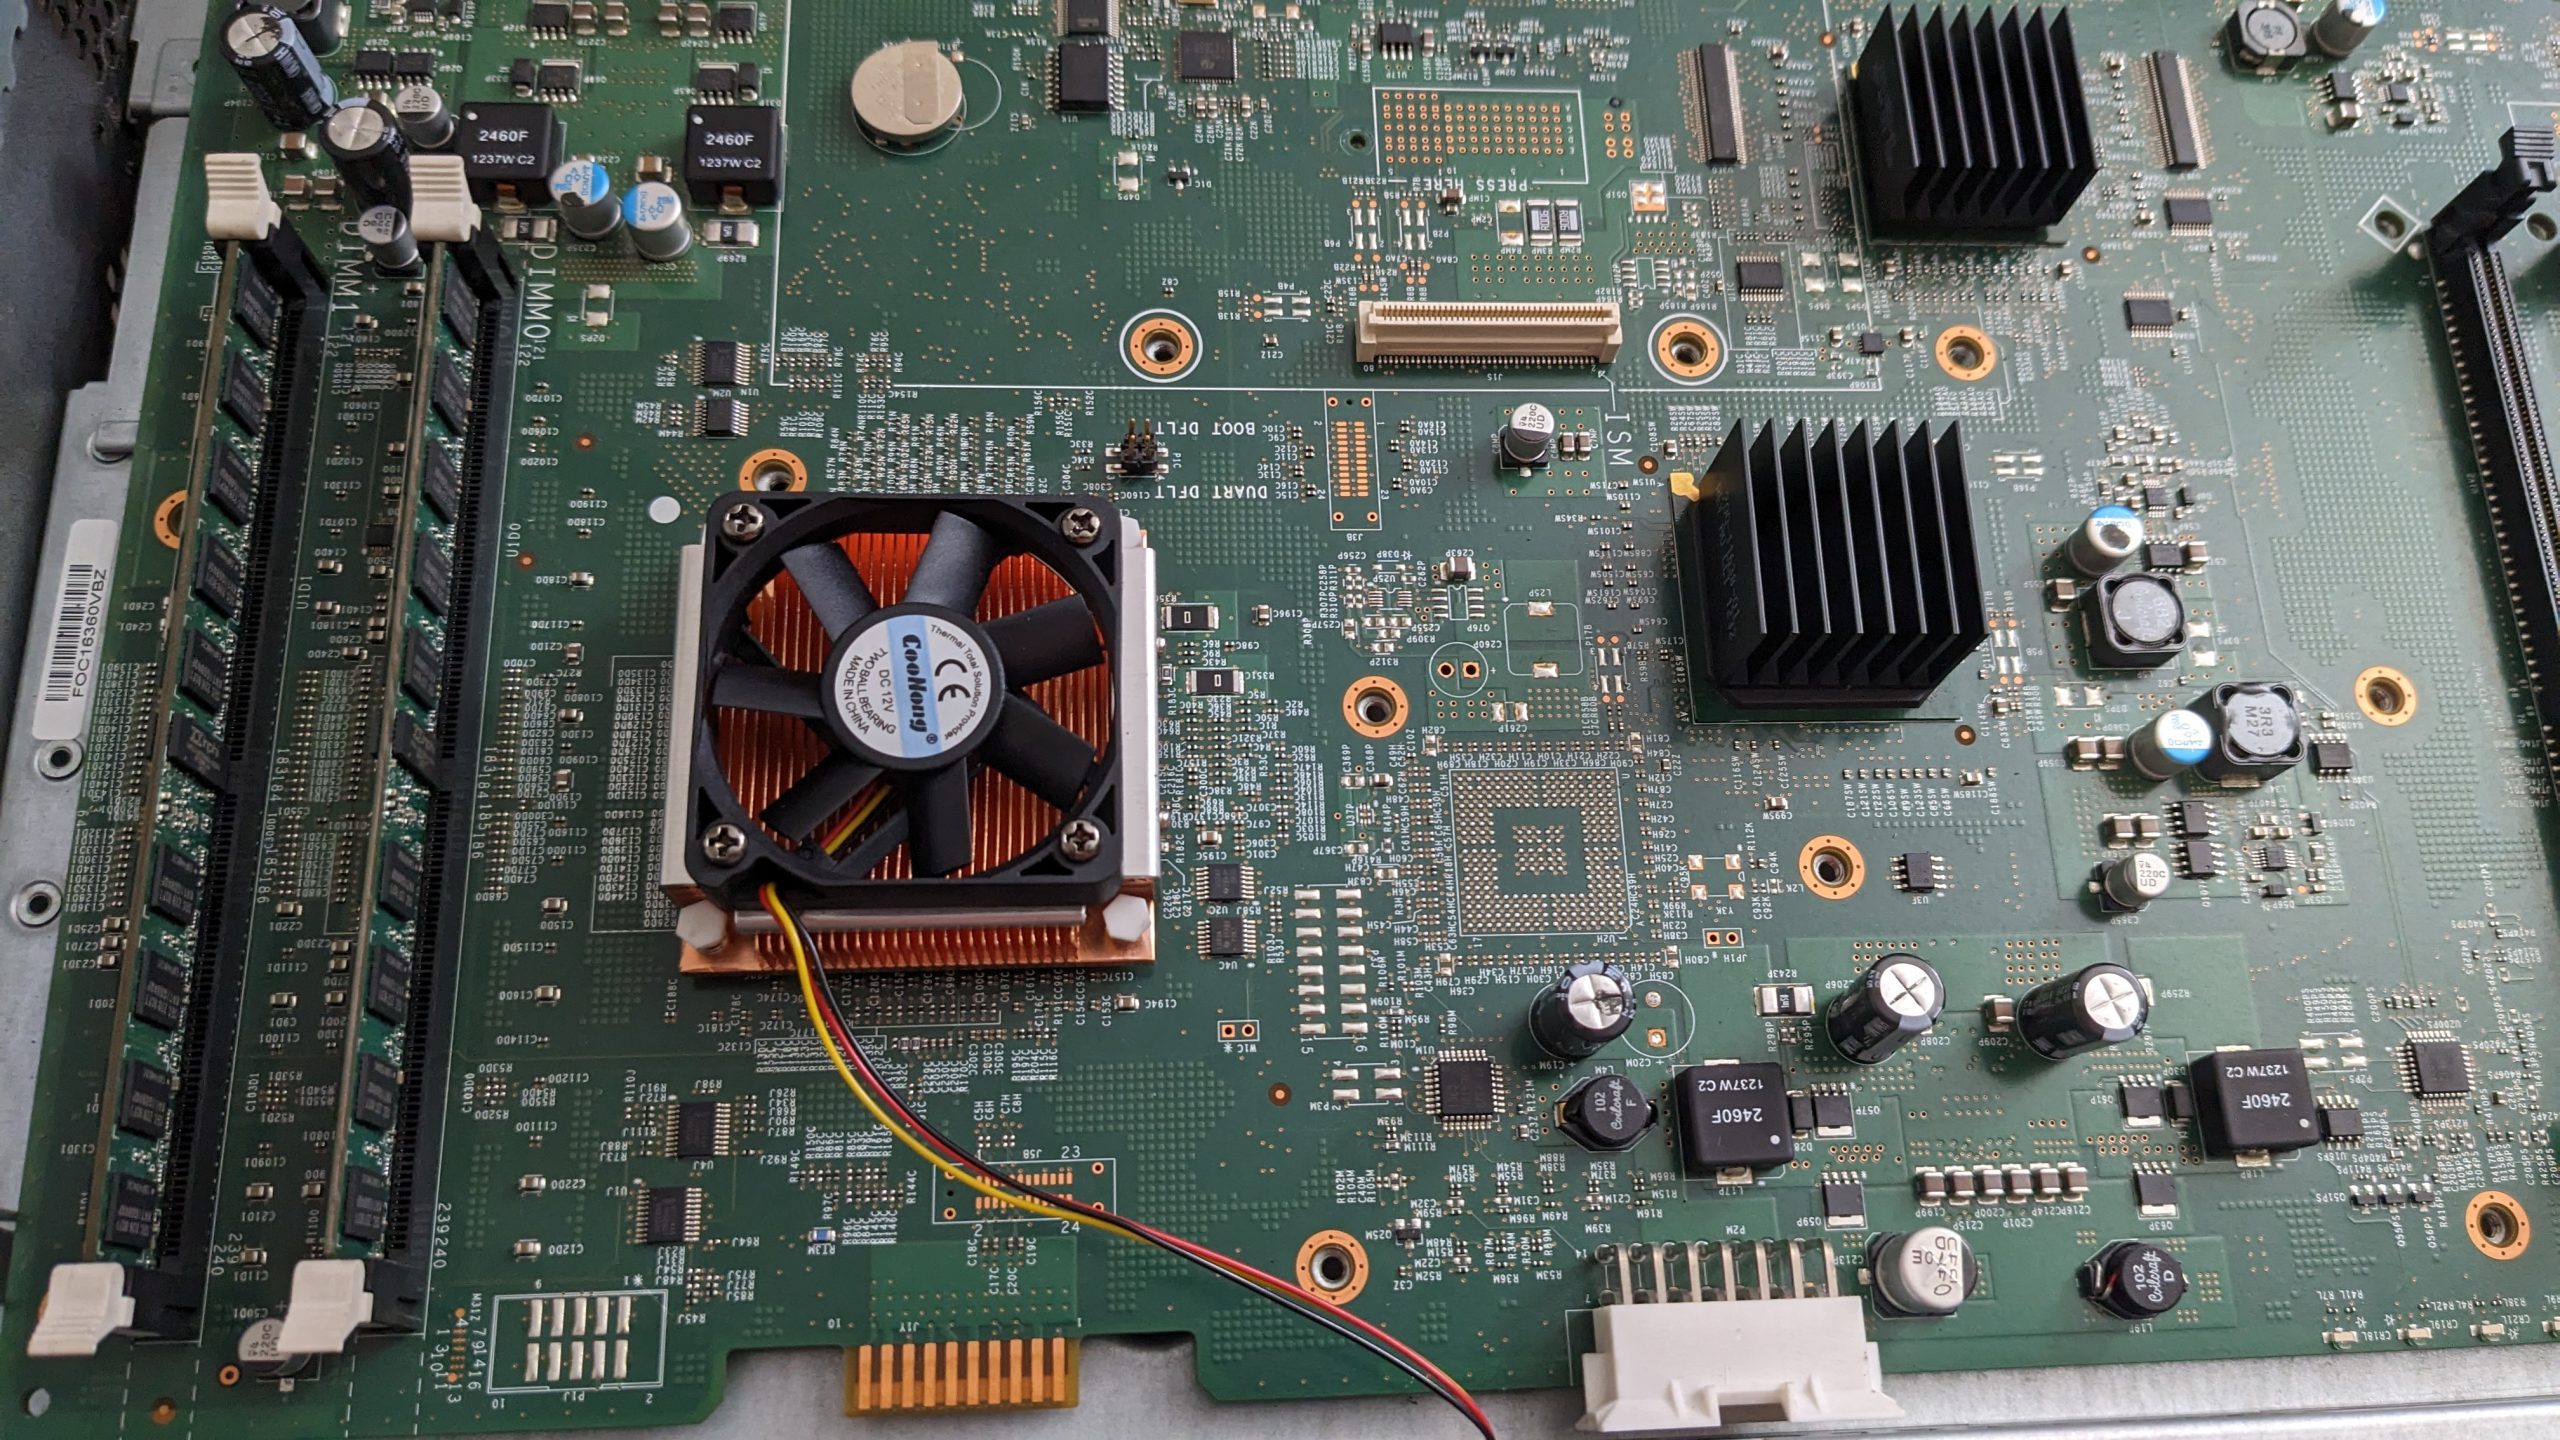
- Intel PGA988/989 CPU active cooler.
Important Info:
SUNON PSD1206PMB1-A Pinout:
RED — +12V
BLACK — GND
YELLOW — TACH
BLUE — PWM
Noctua NF-A6x25 Pinout:
BLACK — GND
YELLOW — +12V
GREEN — TACH
BLUE — PWM
Intel PGA988/989 CPU active cooler 3-wire fan pinout:
BLACK — GND
RED — 12V
YELLOW — TACH
In terms of the steps, I think if you’re already thinking about doing this type of mod, you must be already savvy with electronics and handy with tools, so I feel like illustrating the steps might be redundant and will only note a few important things.
- The active CPU cooler will have to be disassembled and have the mounting screws removed and replaced with the mounting clips from the original passive heatsink, and you’ll need a 3mm drill bit to enlarge the mounting holes on the heatsink of the active cooler for the original mounting clips to fit. The copper heatsink is very soft so you should be able to hand drill it with minimal efforts.
- The mounting bracket that comes with the active CPU cooler won’t fit on the 2951’s motherboard, and the soft padding on the mating surface of the active cooler heatsink will have to be removed as well. I used acetone to give it a good cleaning.
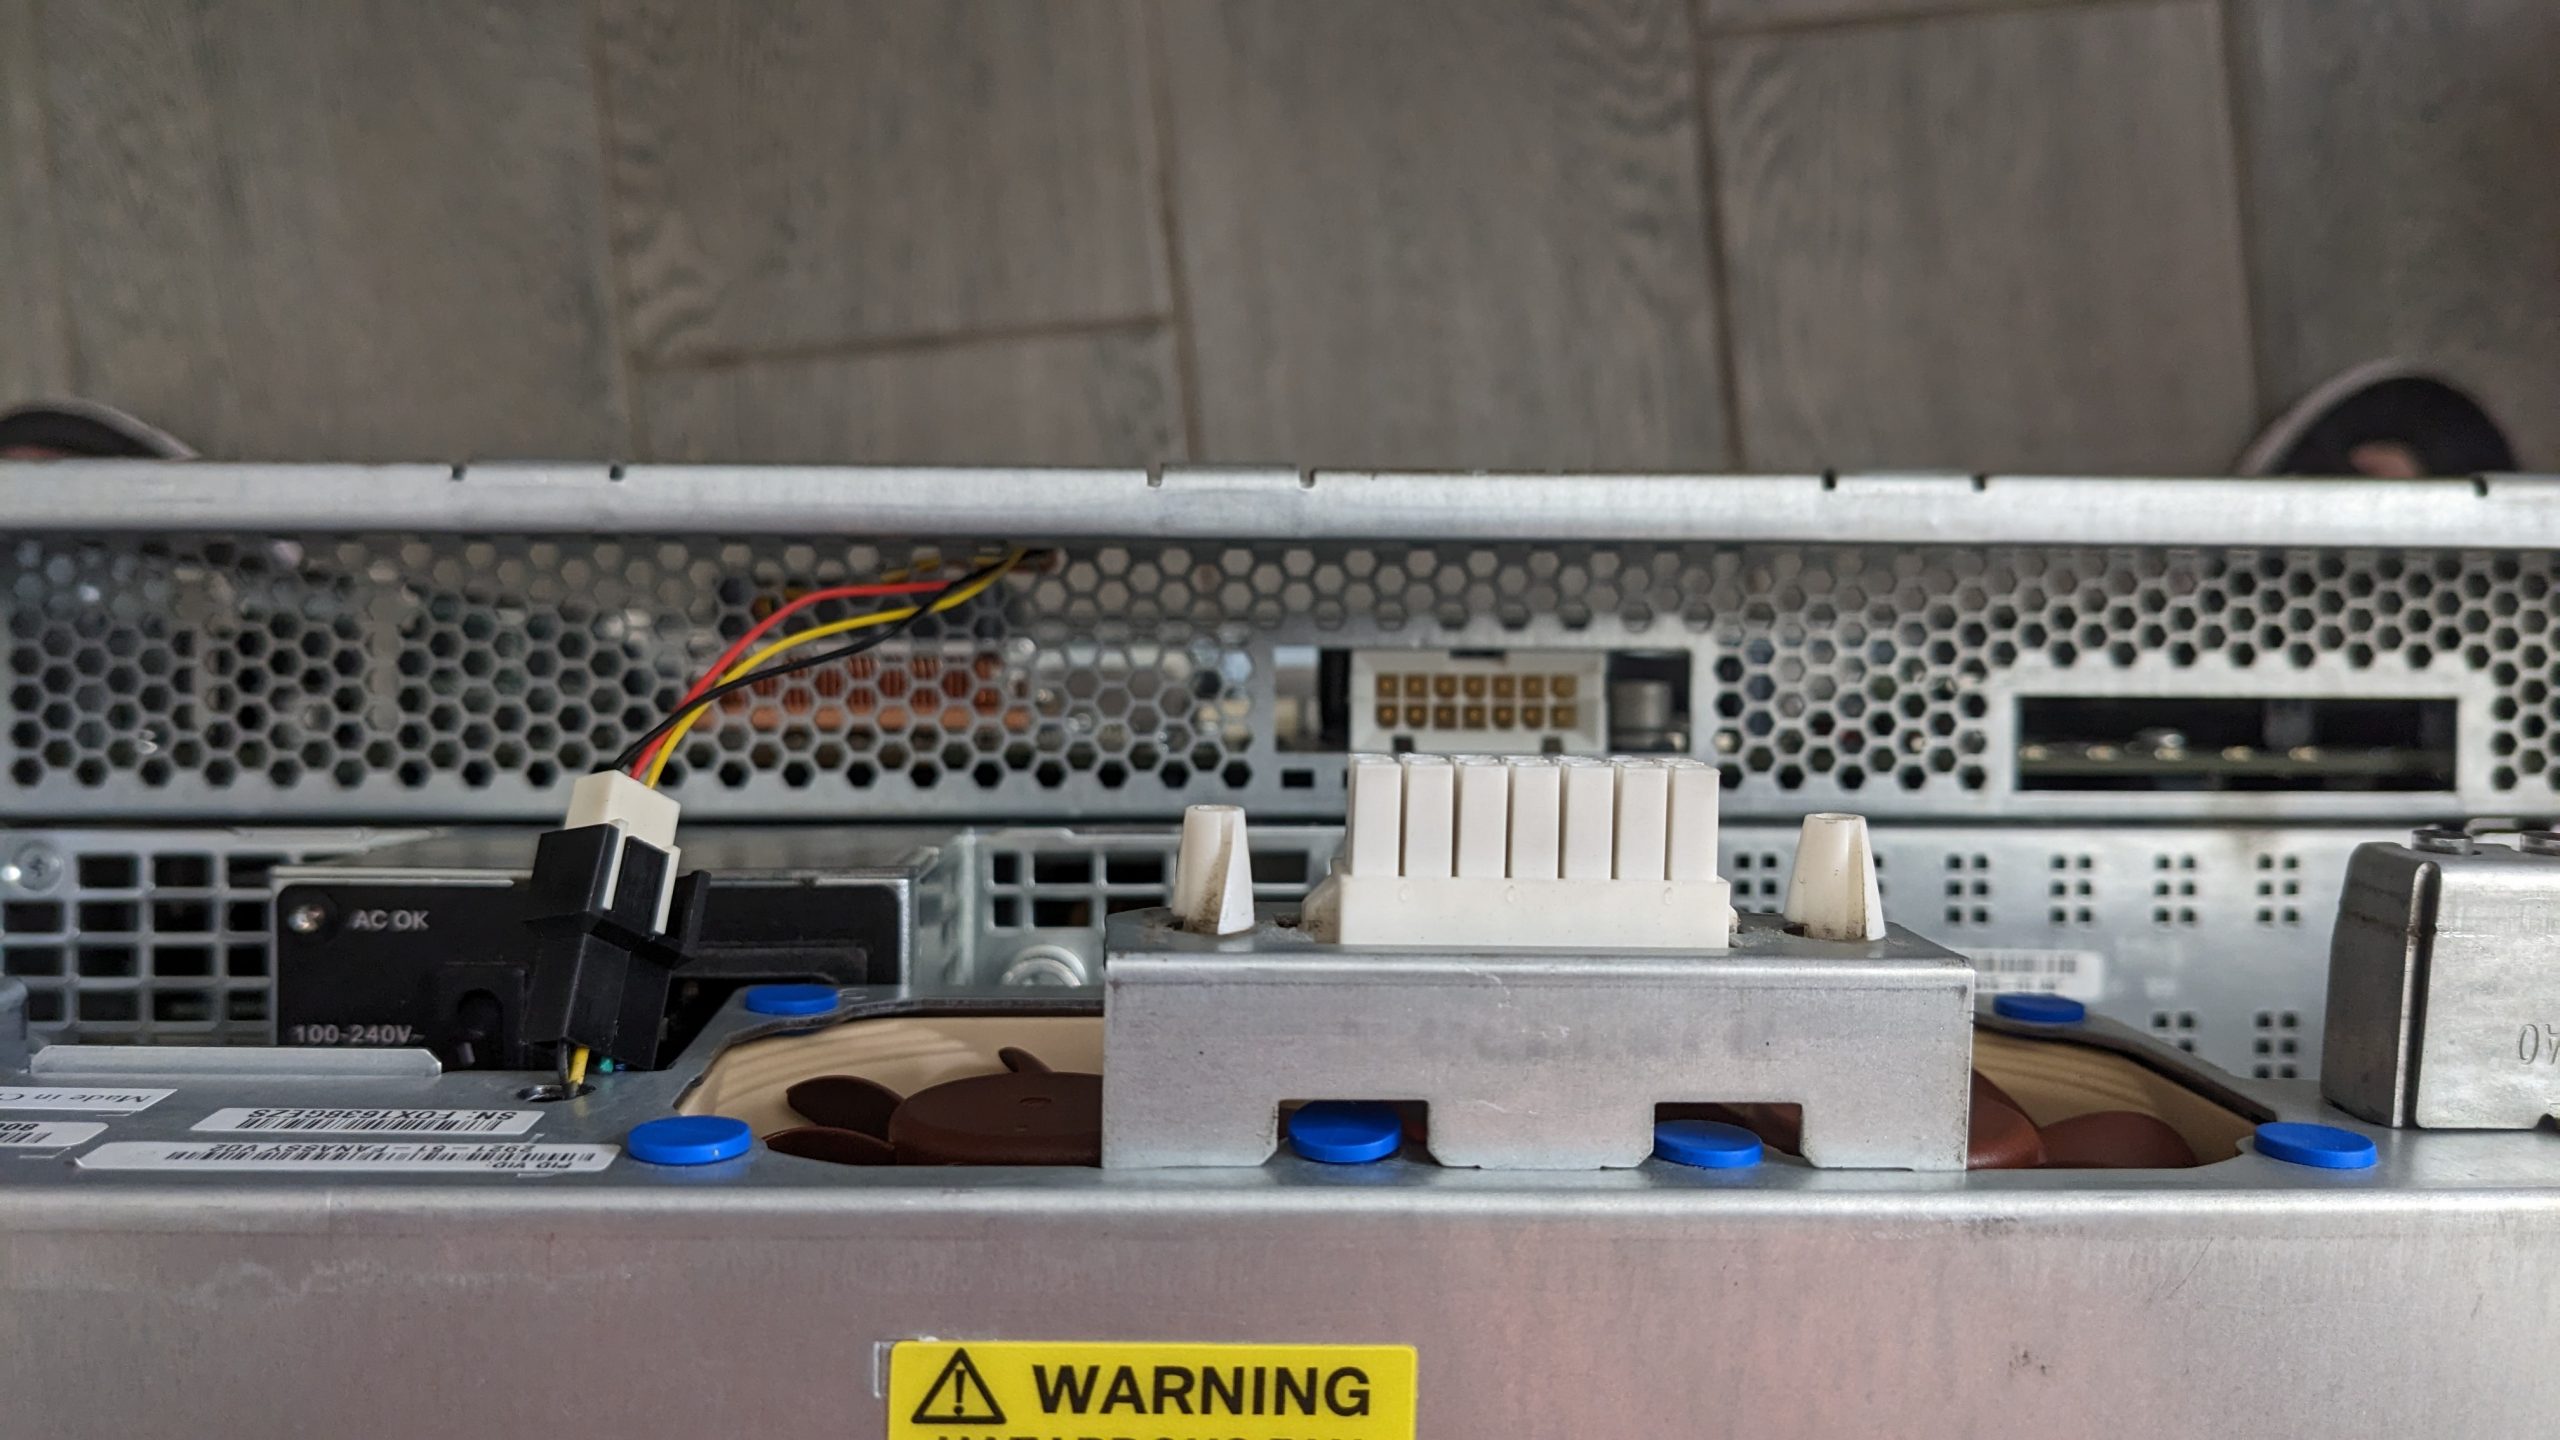
- In terms of wiring and routing of the wires, it’s completely arbitrary as long as the correct pinout is followed. And in this case since we’re replacing the stock fans with quiet fans with much less power and RPM and tapping an active CPU cooler into one of the four fans, the PWM/TACH signals won’t make a difference anymore, we can ignore them and only connect the 12V and GND and let them run at full power.
- After the mod’s been finished, use
show envto monitor the temperatures. Mine stays around 49 degrees Celsius for the CPU and 67 degrees for the power supply, which is pretty much identical to the temperatures before the mod.
After thought:
- If your room is well air conditioned and your server rack/cabinet is well ventilated, you probably won’t need the active CPU cooler. Although the four Noctua fans are significantly weaker than the original ones, if your router is not under heavy load and your rack/cabinet has enough air flow, the four fans are probably enough to keep the router cool. My room is not always air conditioned and has other equipment producing heat and I see the CPU temperature slowly creep up to around 75 degrees Celsius, which was why I added the active cooler.
- If you have or have access to better tools – such as a laser cutter, you can probably create more ventilation by slotting the upper panel around the heatsink areas without adding an active cooler. I thought about doing it this way but my access to a proper cutter is limited so I changed course. Nevertheless, it’s cooling after all, as long as the temperature is under control there are plenty of room for innovation.
Pictures: